Another visual pun. That is one GIANT ant!


Art tutorials, research, gallery, and blog
Another visual pun. That is one GIANT ant!
I really should be more mysterious about how I work, but I know how hard it can be to find any sort of process work involving layers. So, I hope it helps!


Because sometimes it’s fun to see how a painting is made…


Ten steps to a new you!


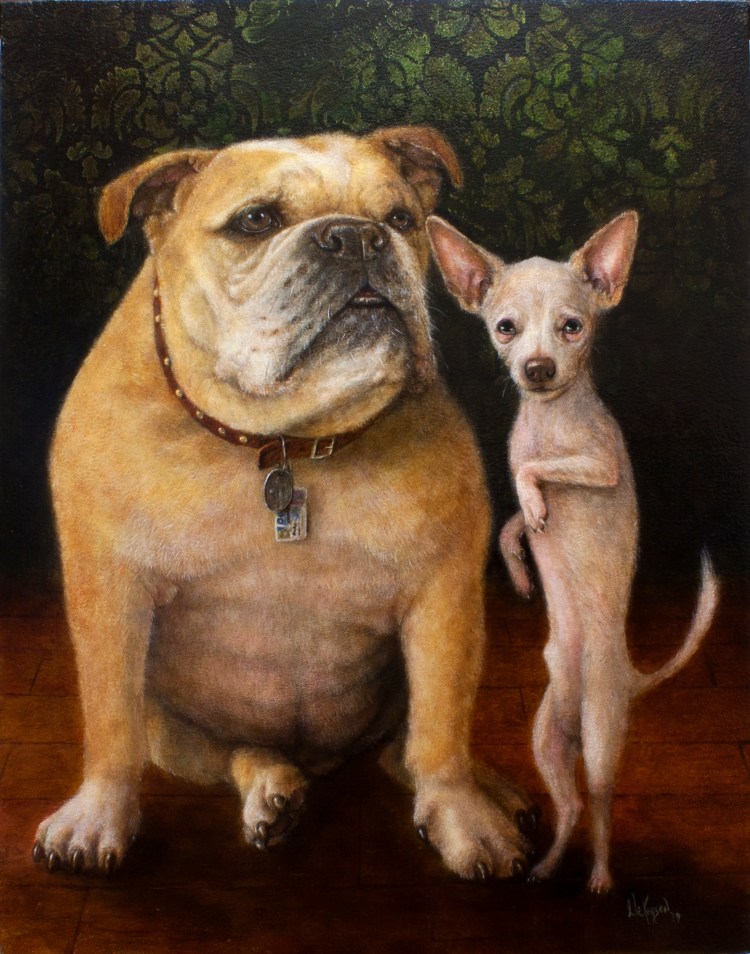
Late for Dinner, oil/gold leaf on board. Golden Girl, oil/gold leaf on board.
These Paintings will be on display at some point this year. If you are interested in purchasing either, please contact me using the links at the head of my blog. Thank you!
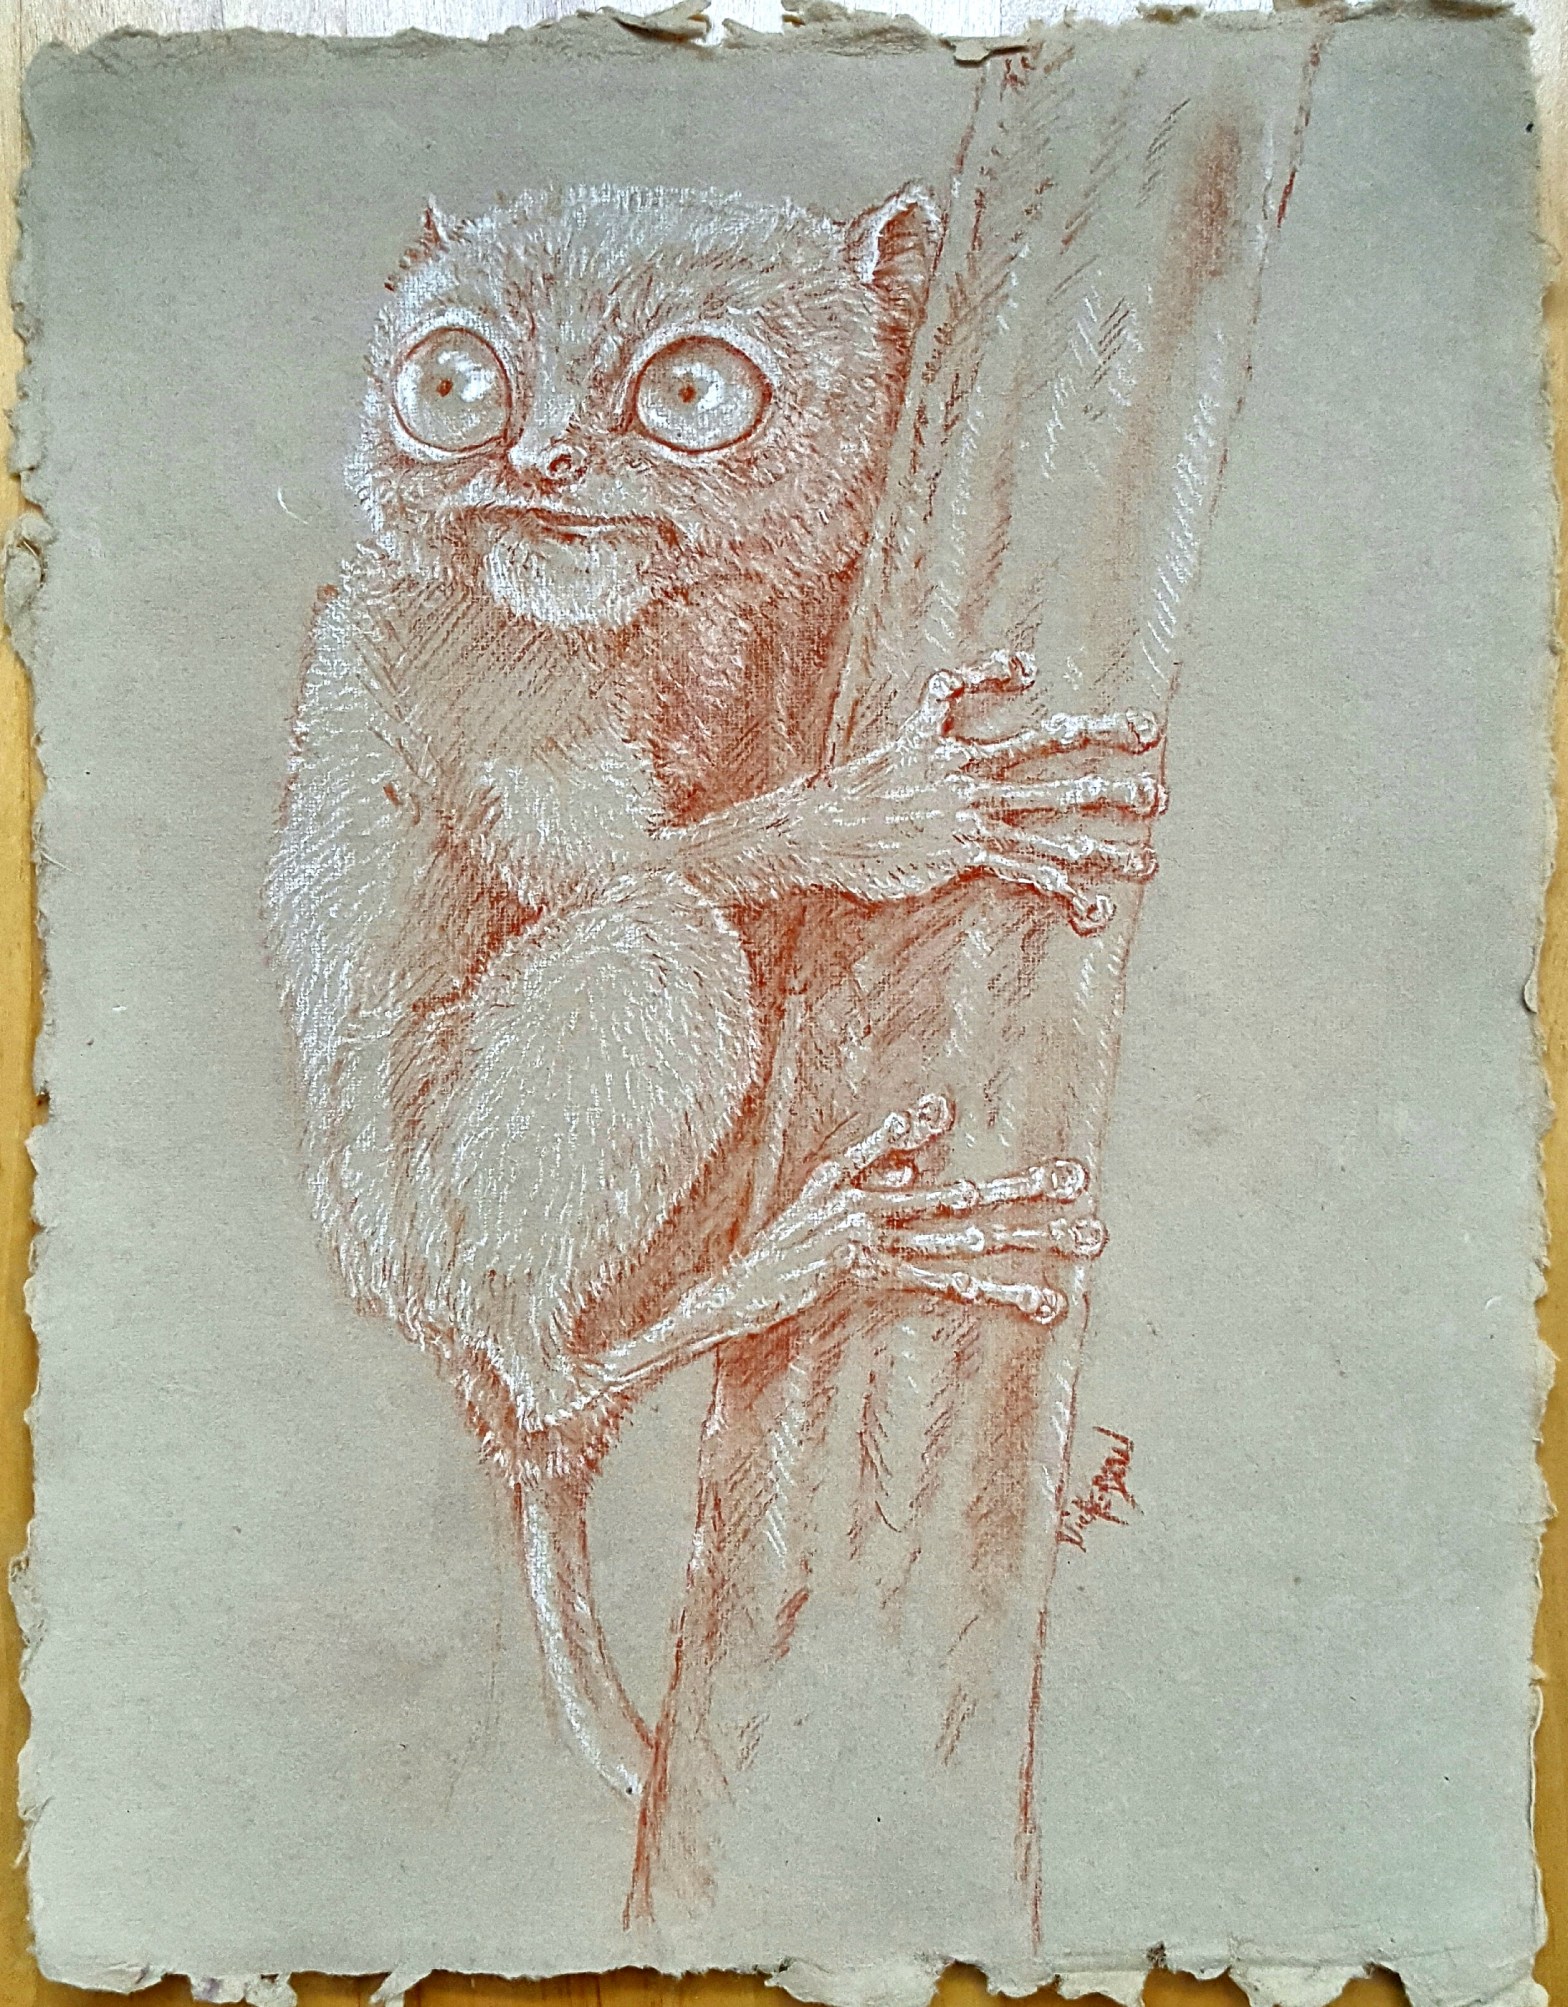
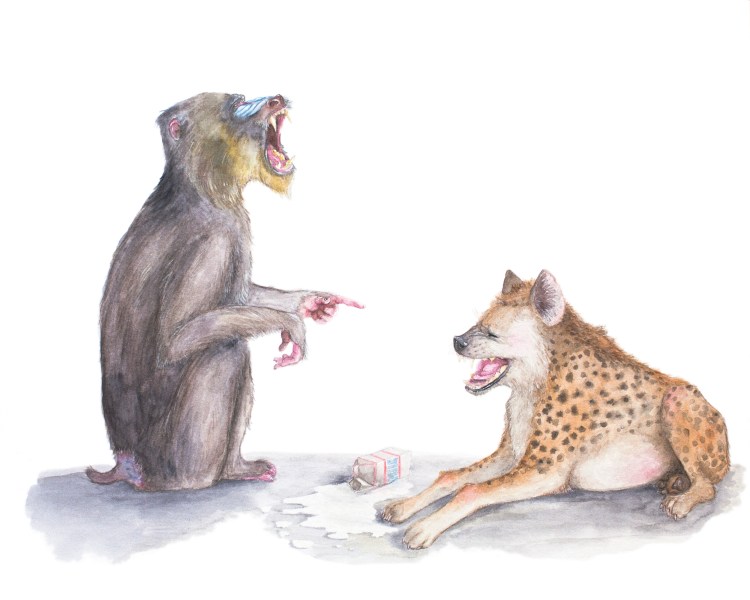
Here’s a drop of a few more recent drawings. Hope you enjoy!


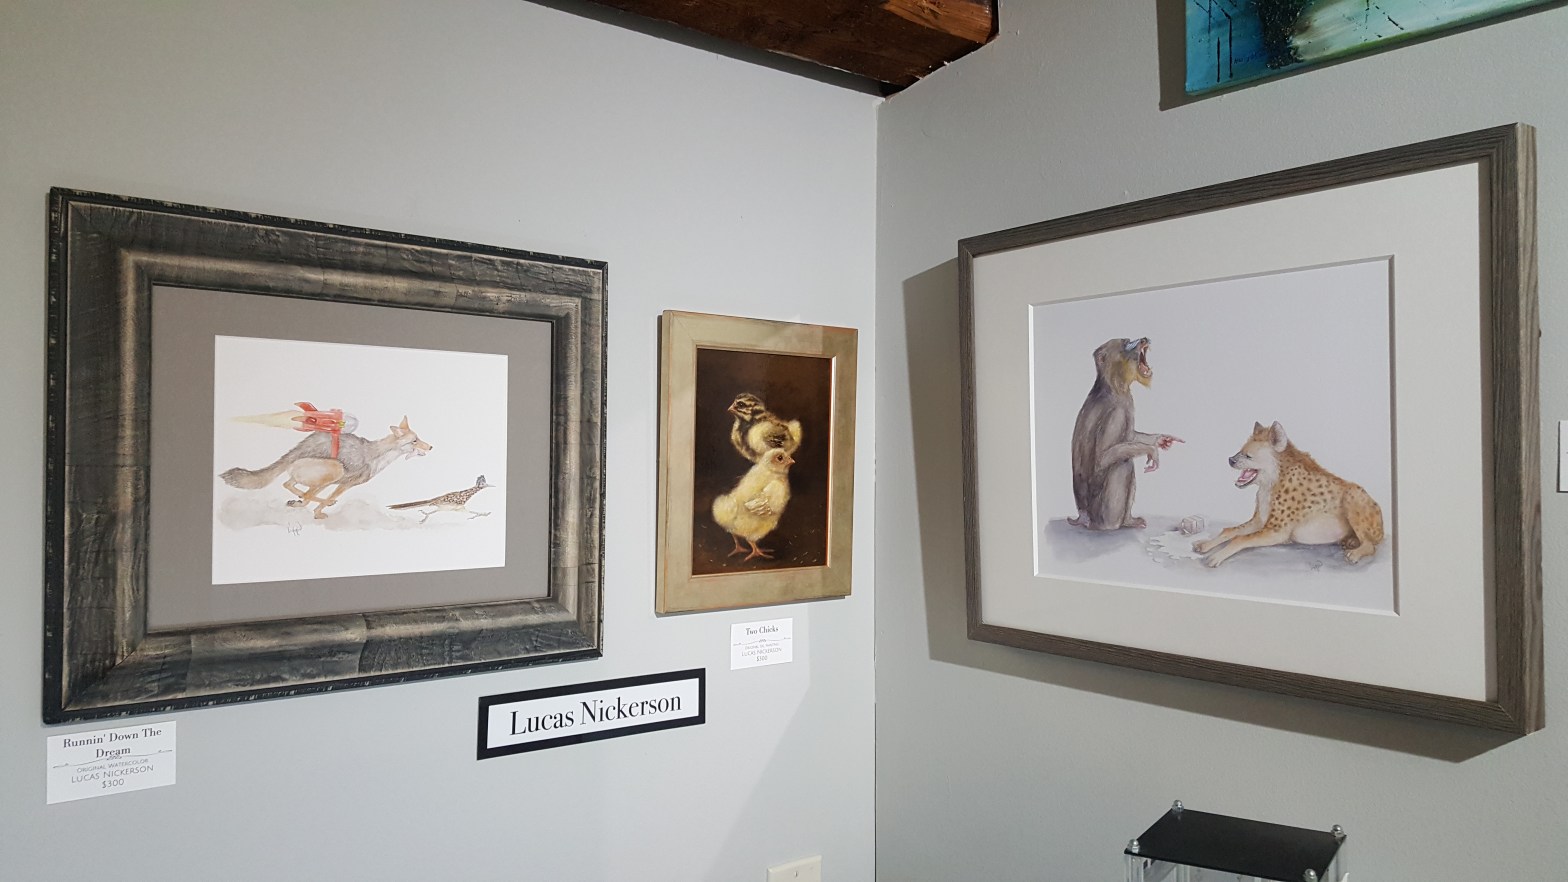
Thanks to everyone who stopped in to see the work hanging in Singer Hill TRAG gallery! I’m in the rotation through August and plan to stay on for a good while. All of my work is for sale. Stop in, if you haven’t already, and buy a card (or a painting!) As always, Thanks for supporting artists!


Here’s a new piece. I’ve posted process photos below, but without any descriptions. (because you can see what I’ve done between sessions.


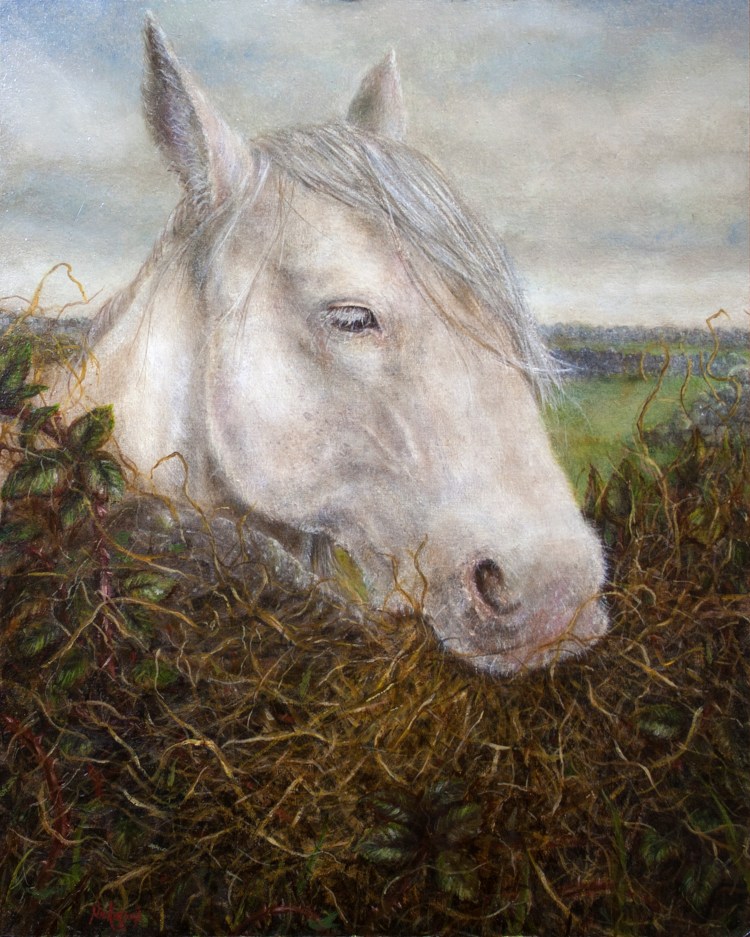
Back in October, my wife an I traveled back to Ireland. We took a zillion reference photos in hopes that I would be able to eek out a few paintings. Here’s the first of, hopefully, many more! This guy lives on the island of Inis Mór. If you are on a walk to Dún Aonghasa, you may very well encounter this guy as he eats his hay hanging from the blackberries at a break in the rock wall. This painting is relatively small (8×10). Oil on Carton.